Steps to Connect MailChimp to WordPress Easily
As a business owner, it’s essential to keep your customers returning. Loyal repeat customers are valuable, and maintaining communication with them after their initial purchase is crucial for fostering that loyalty.
Email marketing stands out as one of the most effective methods for nurturing these relationships and expanding your business. It’s straightforward and powerful, yielding an average return of $42 for every dollar invested.
Among the various tools available for email marketing, MailChimp is undoubtedly the most favored option. It enables you to create a subscriber list, execute email campaigns, and much more.
In this blog, I will outline the reasons to use MailChimp with WordPress, cover the basics, and guide you through the integration process in just a few easy steps.
Table of Contents
Why Is It Important to Build an Email List?
Creating an email list is crucial. Approximately 59% of consumers indicate that marketing emails influence their purchasing decisions. Furthermore, email marketing is an effective method to re-engage customers who have abandoned their carts and encourage them to complete their purchases.
Email marketing allows businesses to connect with their customers in a more personal and organic manner compared to paid advertisements. Moreover, an email remains in a person’s inbox until they choose to take action, whereas social media posts and ads can quickly become lost among new content.
Now that you understand the significance of building an email marketing list, let’s explore why you should think about using MailChimp with your WordPress site.
Why Use MailChimp for WordPress Sites?
The selected text discusses the benefits of using Mailchimp for WordPress site owners, particularly those running online stores or blogs. It emphasizes the importance of keeping visitors informed about new products, services, or content, which is crucial for maintaining engagement and encouraging repeat visits.
Detailed Explanation and Analysis:
1. Target Audience: The text specifically addresses WordPress site owners, indicating that the content is tailored for individuals or businesses that utilize this platform for their online presence. This includes both e-commerce sites and blogs, highlighting the versatility of Mailchimp for different types of websites.
2. Purpose of Mailchimp: The text introduces Mailchimp as a solution for keeping visitors updated. This suggests that the primary function of Mailchimp in this context is to facilitate communication between the site owner and their audience, which is essential for customer retention and engagement.
3. Key Features of Mailchimp :
– Automation: This feature allows users to set up automated email campaigns, which can save time and ensure timely communication with subscribers.
– A/B Testing : This capability enables users to test different email versions to see which performs better, helping to optimize email marketing strategies.
– Analytics : Mailchimp provides insights into how email campaigns are performing, allowing users to track metrics such as open rates and click-through rates.
– Audience Segmentation : This feature allows users to categorize their subscribers based on various criteria, enabling more targeted and relevant email campaigns.
4. User-Friendly Interface: The text highlights that Mailchimp’s interface is simple to use, which is a significant advantage for users who may not have extensive technical skills. This accessibility encourages more users to engage with email marketing without feeling overwhelmed.
5. Integration with WordPress : The text concludes with a promise to demonstrate how easy it is to integrate Mailchimp with a WordPress site and customize Mailchimp forms. This indicates that the following content will provide practical guidance, making it actionable for readers who are interested in implementing these features.
How to Integrate MailChimp With WordPress?
Integrating MailChimp with WordPress is super easy. Essentially, there are 2 steps to it:
- Create a MailChimp account
- Download the “MC4WP: Mailchimp for WordPress” plugin and use the API to connect MailChimp to your WordPress site.
Intimidating as it may appear, it is really not. Let’s get started.
Step # 1: Create and Set Up an Account on the MailChimp Website
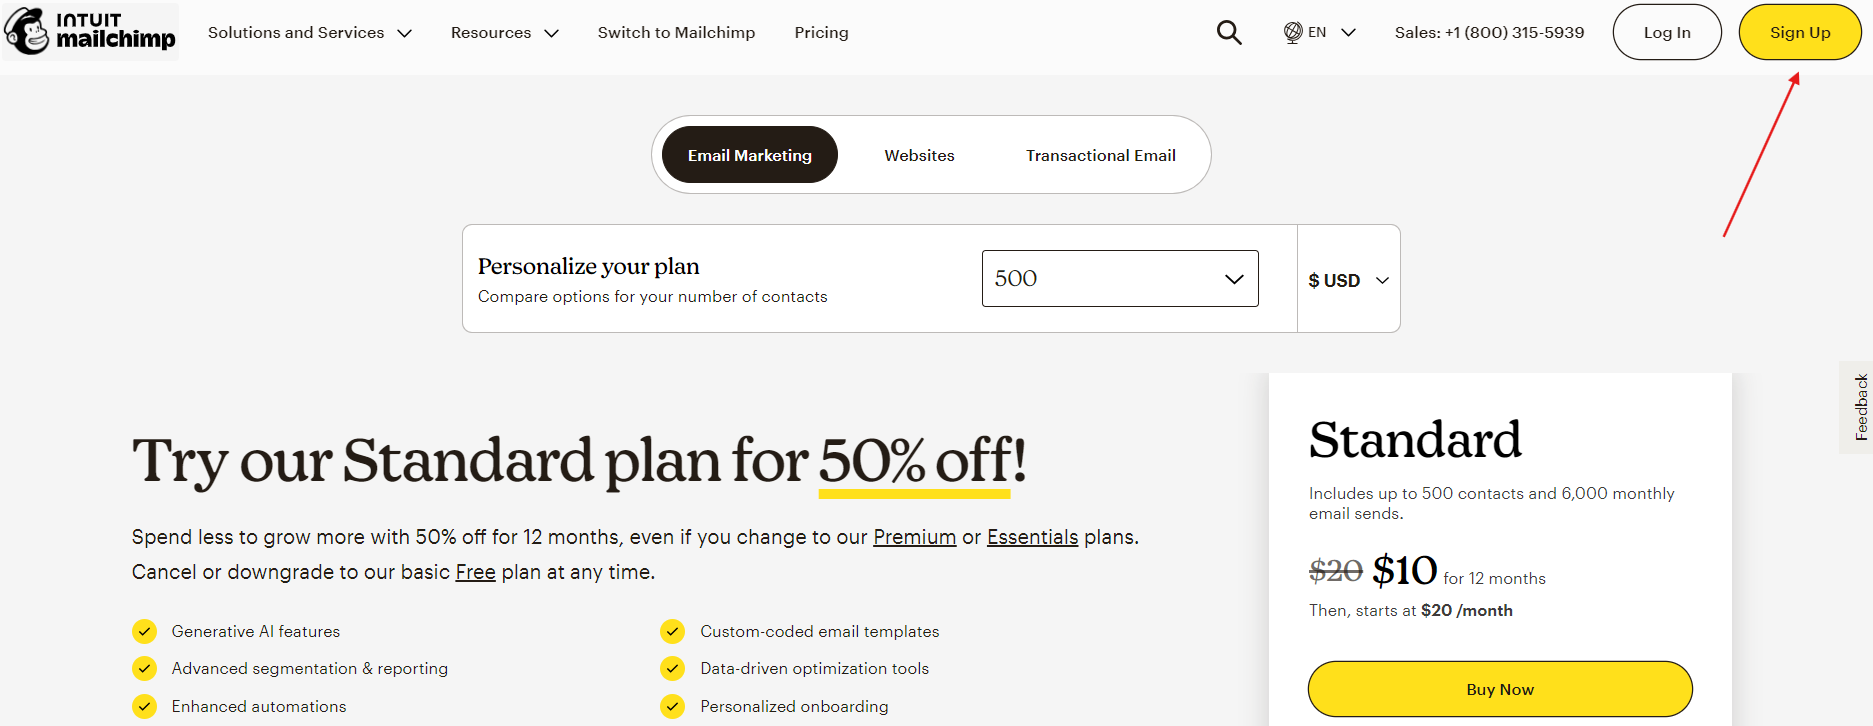
- Go to the Mailchimp website and click on the Sign Up button.

- Click on the Sign-Up button again on the pricing page.
- Enter your email address, choose a username, and set a password for your account.
- Follow the prompts on the screen to complete the setup process.
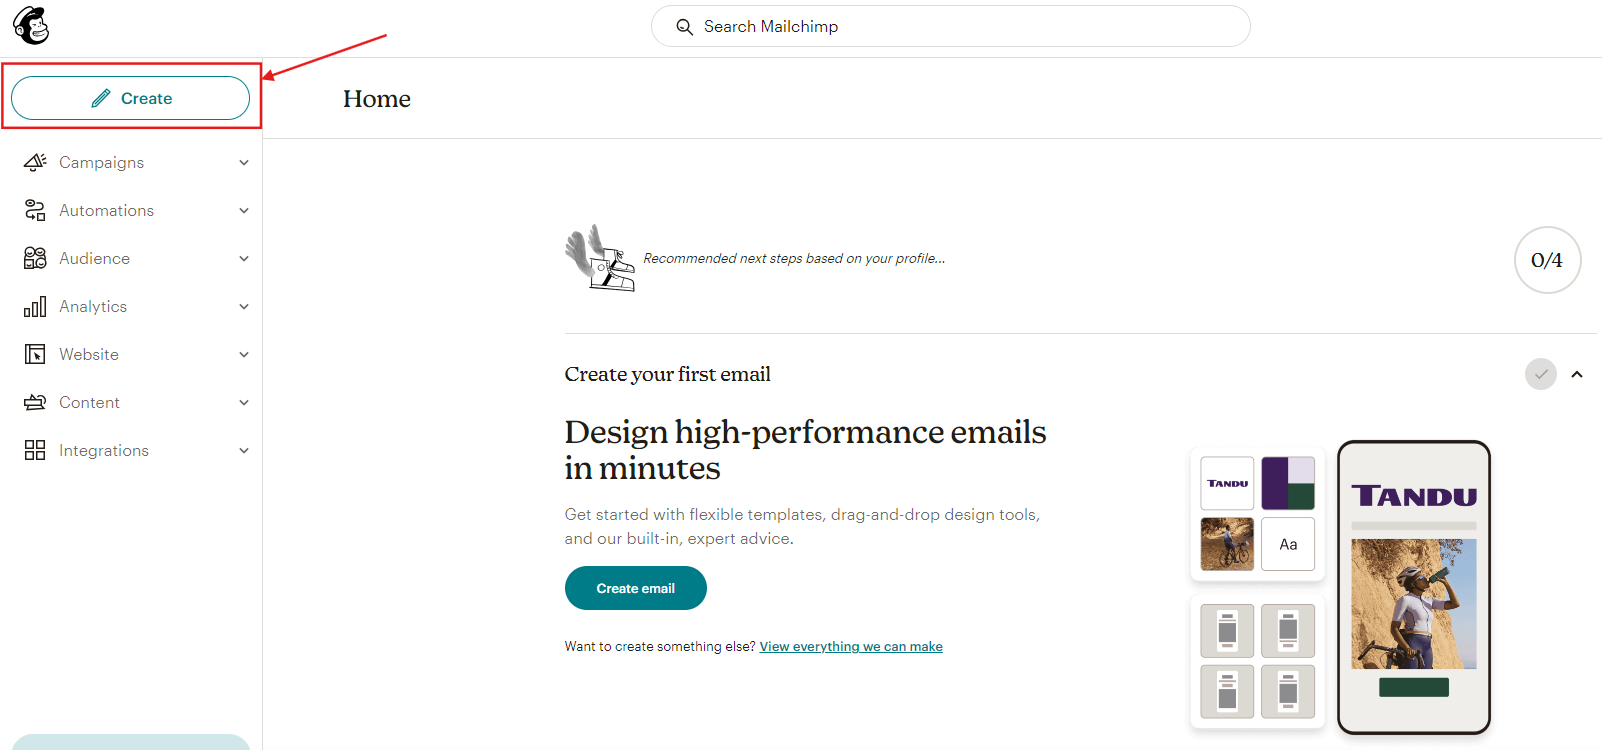
- After your account is created, you’ll be taken to your Mailchimp dashboard, which will look like the screenshot below. Click on the Create button.
- Next, select the Signup Form and Embedded Form option.
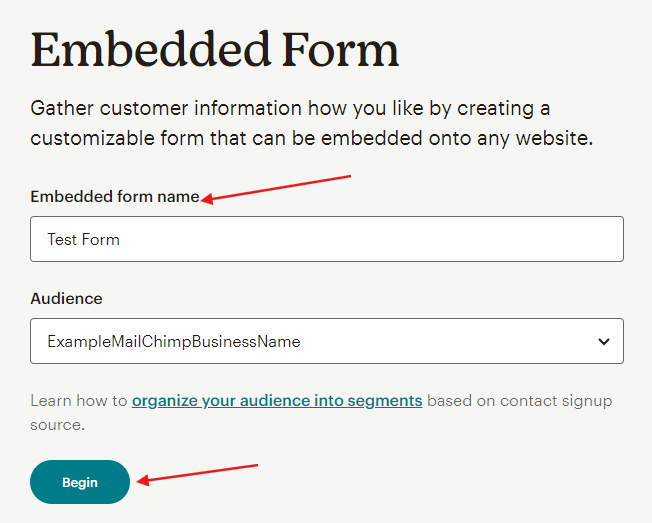
- This will take you to a new screen, where you’ll be asked to name your form. When you’re done, click on “Begin.”
- Next, you can customize the look of your form or click on Continue. Like I’m doing here.
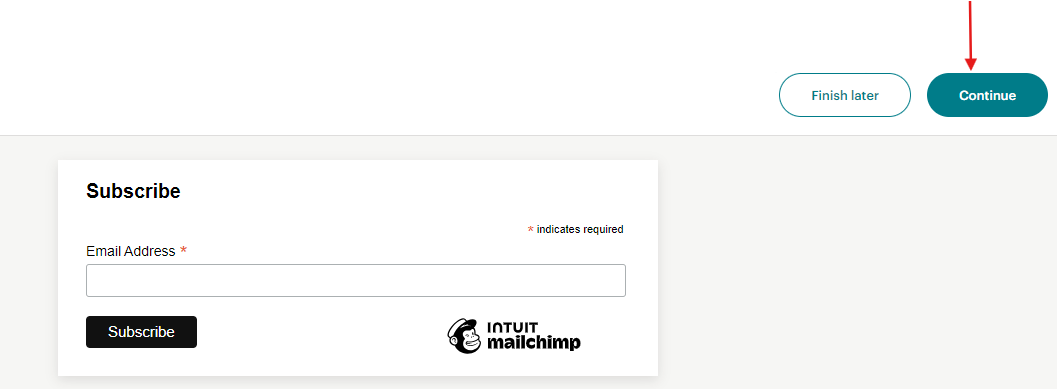
- Next, you can customize the look of your form or click on Continue. Like I’m doing here.
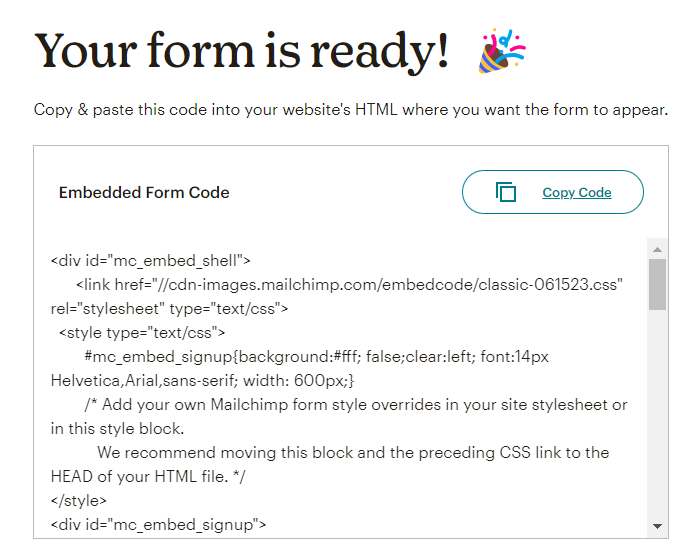
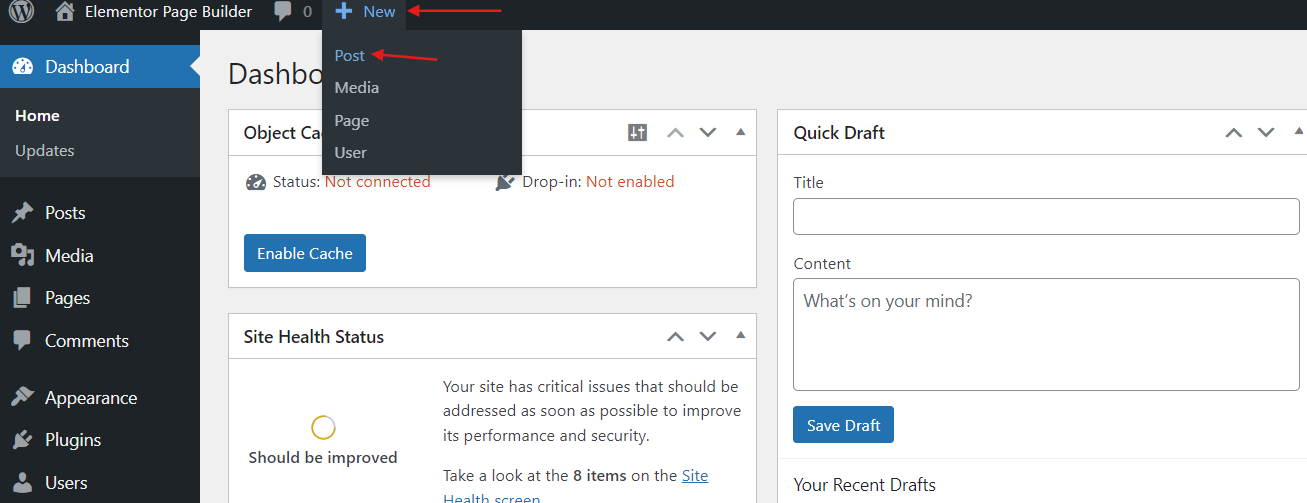
- Now, to test the form and see if it is working properly, you need to embed the form code we created earlier. For this, I’ll create a new post in my WordPress dashboard.
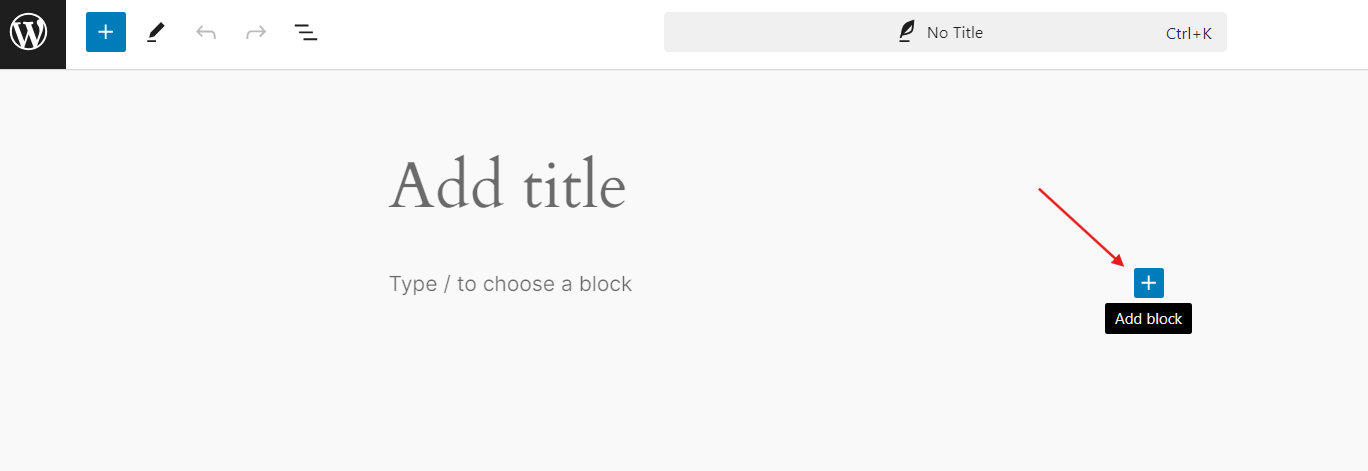
- Now, add a new block.
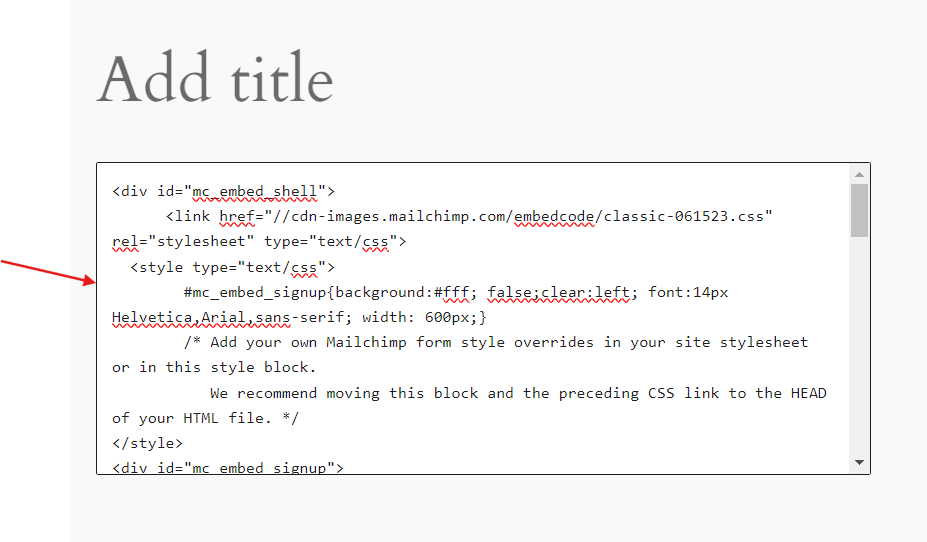
- Next, paste the embed code into the Custom HTML block.
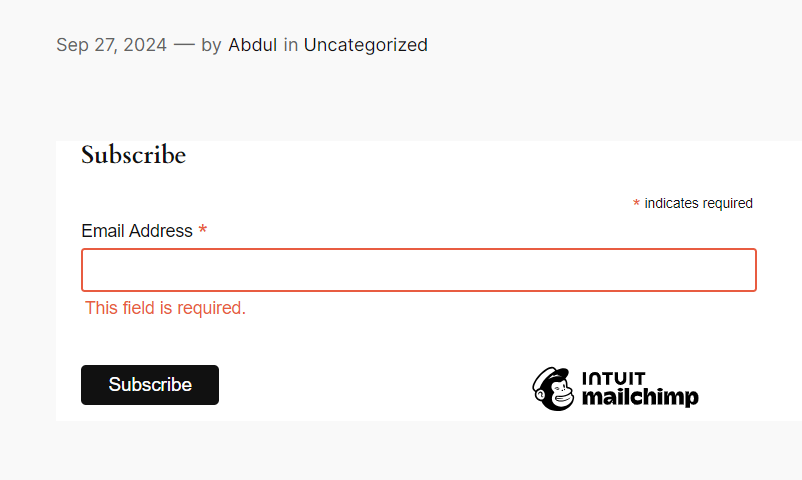
- Now, preview your post, and you’ll see your embedded MailChimp form.
Step # 2: Install MC4WP: Mailchimp for WordPress Plugin & Generate API Key
Now, we need to install a plugin called “MC4WP: Mailchimp for WordPress” and then get an API key from MailChimp and connect it with the plugin.
Here’s how to do this:
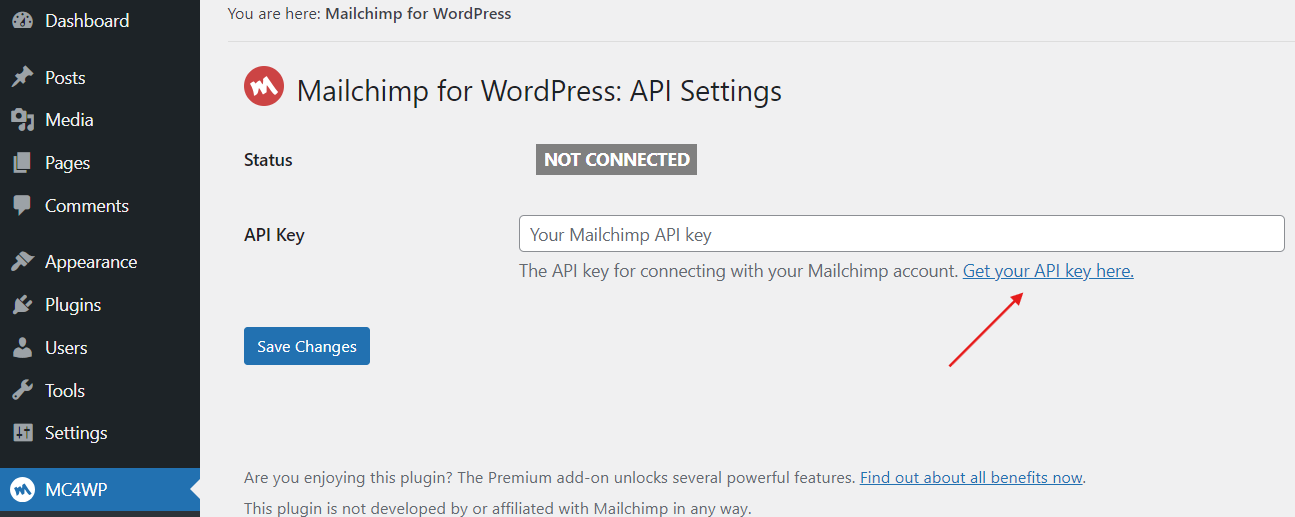
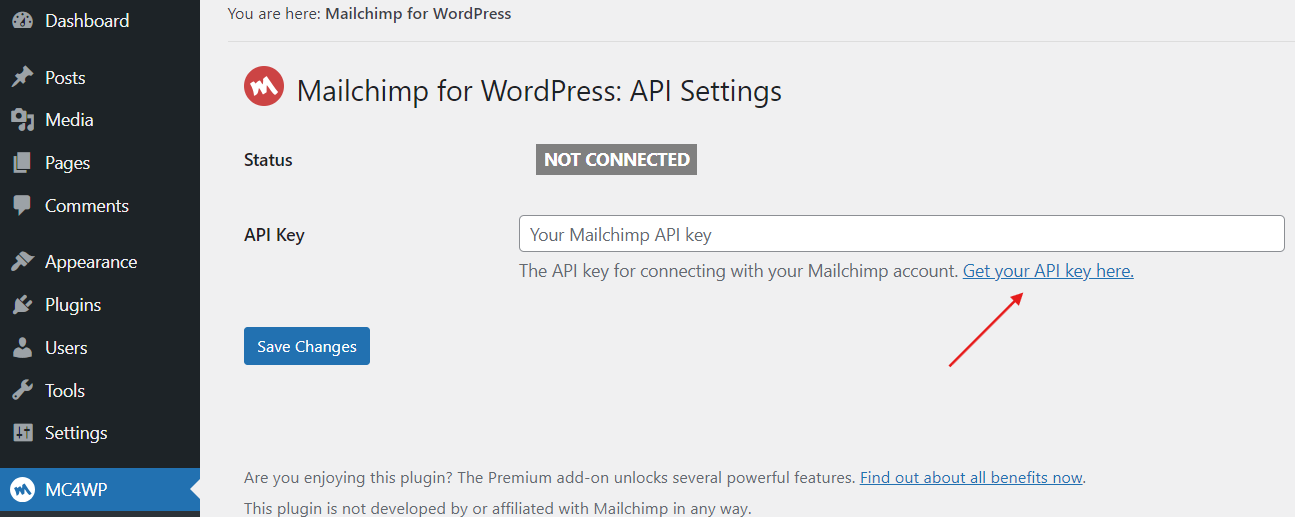
- First, go to the Mailchimp for WordPress plugin and click on “Get your API key here.” This will take you to MailChimp, where you’ll be able to generate a new API key.
- Click on the “Create A Key” button.
- Now, give a name to your API Key and click on “Generate Key”.
- Now copy the code to your clipboard.
- Now, head back to the plugin and paste the API. Click “Save Changes,” and you’re done.
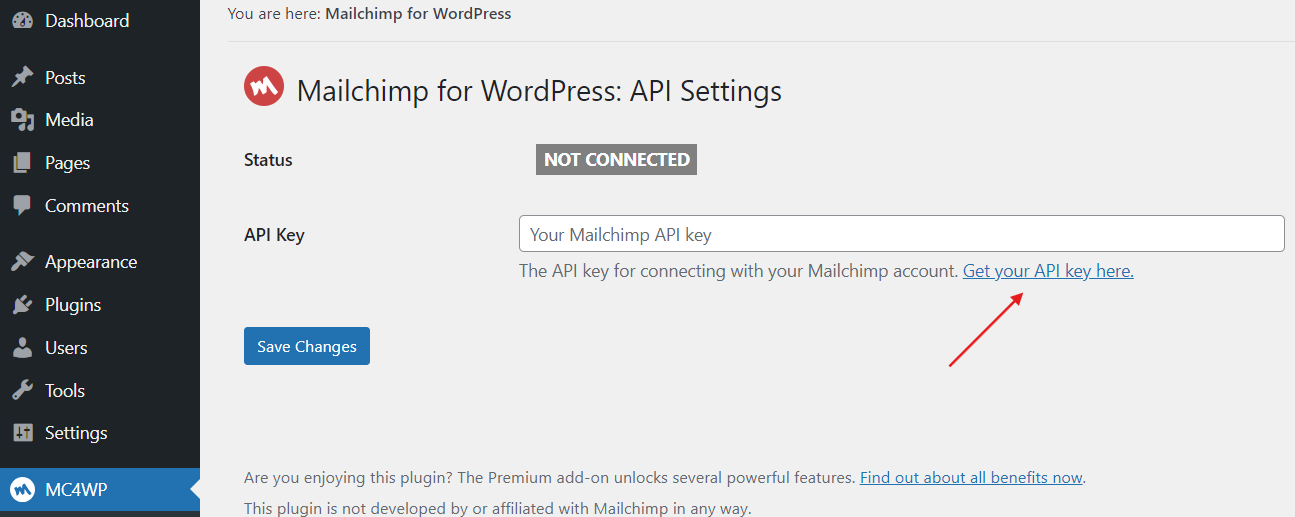
- Now you can see that we’re fully connected.
- Now, you can go back to the form we created and click subscribe. As you can see, emails have been added to my MailChimp account.
That is it. This is how easy it is to integrate MailChimp with WordPress. Integrating it with WooCommerce is just as easy. Let’s check that out, shall we?
Integrate MailChimp With WooCommerce
We already have a MailChimp account ready, so we just need to install the WooCommerce plugin on top of our WordPress site.
If you don’t have a WooCommerce site yet, I highly recommend using Cloudways WooCommerce hosting if you want a fast, secure, and scalable platform. With our WooCommerce hosting, you’ll have WooCommerce pre-installed on your WordPress website.
Since I already have a WordPress site, I’ll just install and activate the Mailchimp for WooCommerce plugin:
- First, log in to your WordPress website and navigate to WordPress Dashboard > Plugin > Add New.
- Search Mailchimp for WooCommerce on the top-right search bar.
- Click on the Install button.
- Now click on the Activate button after the installation.
- Now that the plugin is installed and activated go to the Mailchimp plugin page and click on the Connect Account button.
- Add your Mailchimp account credential in the pop-up modal, and click Log In.
- Add your Mailchimp account credential in the pop-up modal, and click Log In.
- On the next screen, click Allow to authorize access to the account.
- Once you log in, you’ll be redirected to the WooCommerce Store Settings page.
- Enter the Store Settings’ name, email, and other details.
- Under the Locale Settings section, select the physical location of your store.
- Scroll down to the Permission Settings to select the minimum permission to manage Mailchimp for the WooCommerce plugin. Check the circle next to administrators and then click Next from the top-right corner of the page.
- On the next screen, select your audience. By default, I have only one audience created and pre-selected.
- Next, enter the From Name, From Email, your Subject line, select the language, and a message that reminds your customers how they subscribe to your emails.
- Under the Opt-in Settings tab, choose how you want the opt-in to your newsletter checkbox to render at the checkout page. Select the Checkbox display options to enter the Message for the opt-in checkbox.
- To send targeted marketing emails to your customers, you can add tags to your new subscribers through the WooCommerce store under Subscribers Settings. You can tag your new subscribers as ‘WooCommerce’ or whatever tag name you like.
- Under Product Settings, you can change the default Product Image Size used by abandoned cart emails, order notifications, and product recommendations. I’ll leave the size as default.
- Now scroll up and click on the START SYNC button
- The Synchronization process may take some time if you have many products and customers. The Overview tab shows the progress of synchronization.
- If you have any issues with the connection, you can click the RESYNC NOW button by scrolling down to resync the audience without losing any of the data.


